Showing posts with label crafts - diy. Show all posts

Sunday, May 5, 2013

Goodie Box

Who likes receiving a loot bag in a party? Raise your hand if you do!

If you've read my blog recently, I've been talking about my two daughters' birthday celebrations this year. The last bash we had was my eldest's slumber party with her three best friends and I made sure to prepare a special giveaway for them. 

Friday, April 26, 2013

Crafty Easter Sunday x Birthday Celebration

Here's a late installment to the series of birthday celebrations we recently had for my two girls. I have another post or two to complete this year's birthday festivities, then hopefully, I'll be able to post all the other stuff I've been itching to write about for months now.

My youngest's birthday fell on Easter Sunday this year and since we were all in the city for a staycation during the Holy Week, my sister-in-law invited us over to her place and we prepared activities for the kids to celebrate the two special occasions.

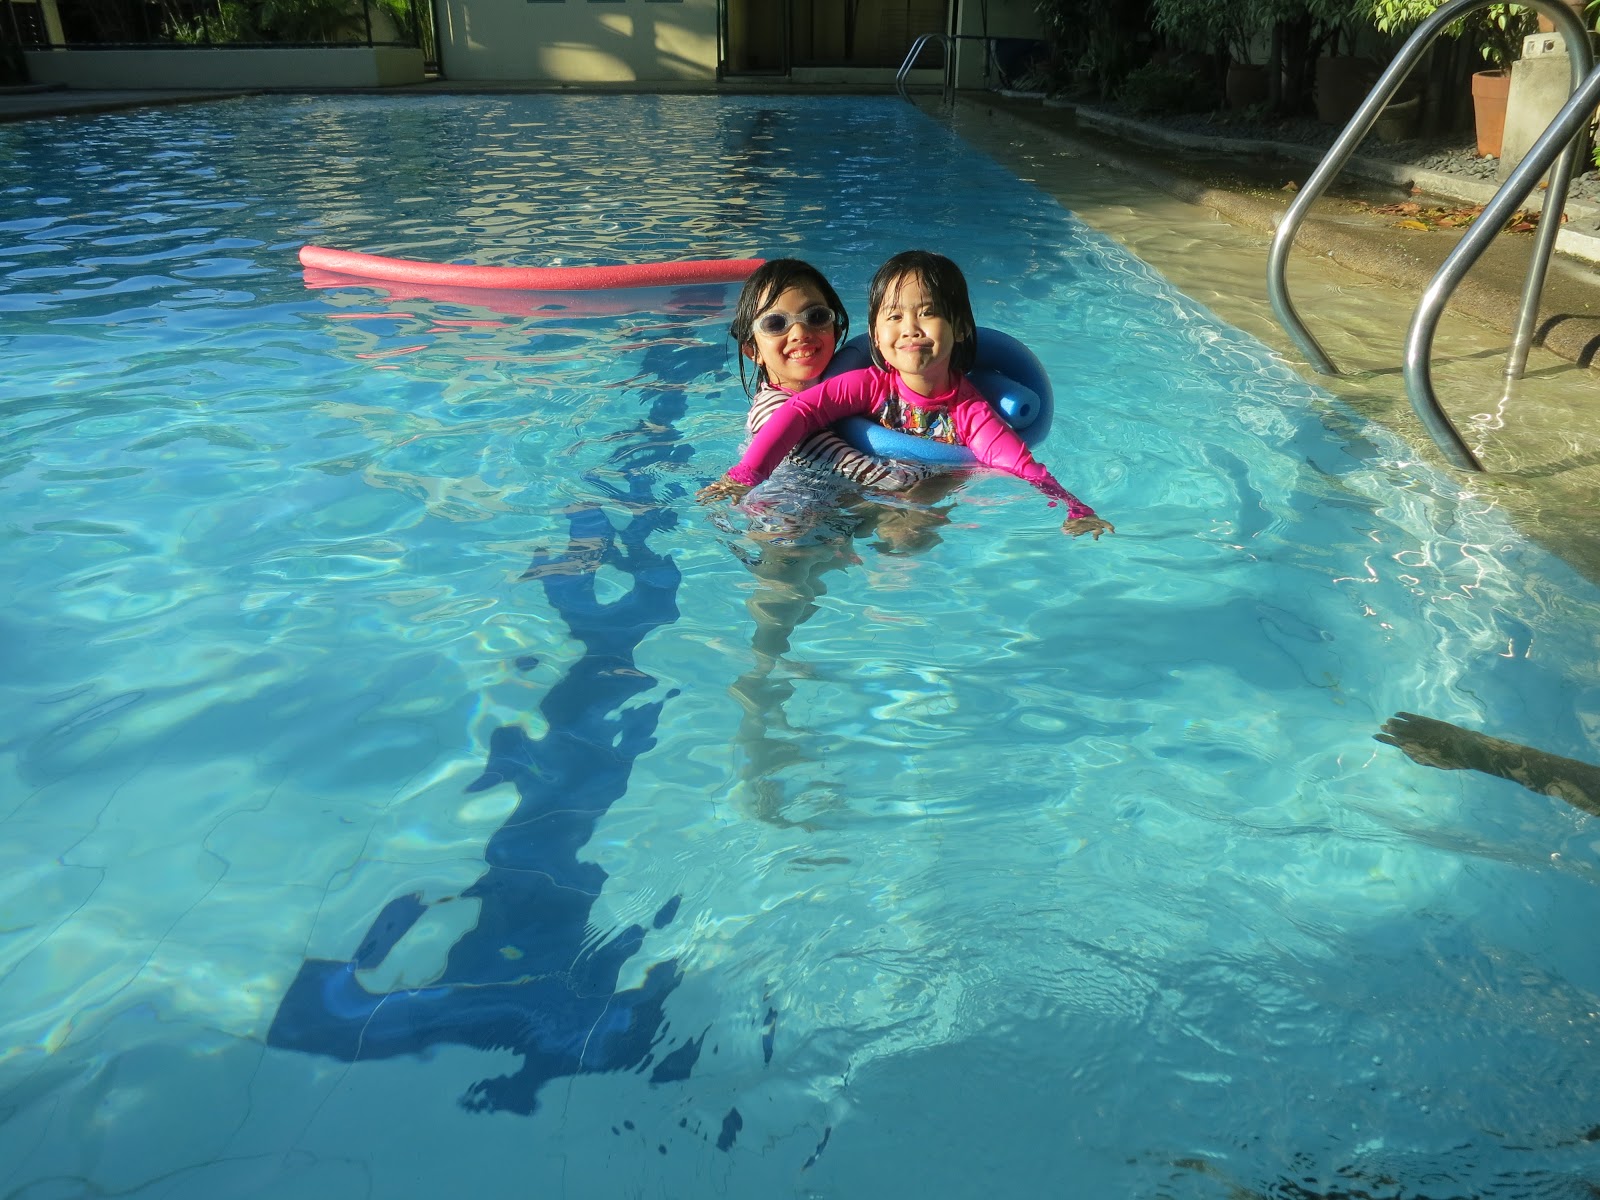
First thing the kids did was go swimming. It was a perfectly hot day for a dip in the pool - don't you just hate the scorching summer heat we've been having??? While the kids were busy in the water, Oma (grandma) went around the pool area and hid a bag full of plastic eggs.


Thursday, April 11, 2013

Wreck It Ralph Party

March went by like a blur. There was this one week where I had to rush and prepare my youngest's party at school, then made some tedious-to-create invites in just one day for my eldest's party and to top them all off, it was also exams week and my husband and I had to help our daughter review. Whew! That was stressful and I'm so glad everything's all done now. My two daughters' birthdays are just two days apart and we had a total of FIVE celebrations this year. FIVE. Versus last year's three-day celebration. I seriously have to reassess what we'll do next year. 

Anyway, I just want to share what I did for my little girl's party at school. Since her actual special day fell during summer vacation, we threw a small party two weeks early. I worked around her current favorite movie, Wreck It Ralph. She absolutely loves it. She watches it everyday. And she likes Vanellope Von Schweetz, the little girl from the Sugar Rush game who gets bullied and who's ultimate dream is to race. Unfortunately, there aren't any Wreck It Ralph party supplies available locally so I had to make some.

I didn't tell her about the party and her teachers and classmates gamely helped us to surprise her. 

Tuesday, February 12, 2013

Handmade Valentine Swap

Craft time!!! :)

So, I joined a Valentine card swap hosted by The Stationery Place and honestly, I couldn't remember that I signed up for it. I was quite surprised to receive an email about it and the details of my swap partners. Good thing I didn't trash the email or worse - mark it as spam! (Oh no!)

Regardless, I was so up for it. I've never joined a swap before, but always wanted to. So this was pretty exciting to me! Plus, it gave me the perfect excuse to bust out my crafting stash again and use some of the stuff I've had for a year or so but have never used.

The cards I made were very simple. I was given four swap partners and I made four different cards so I could play around more. I really, really hope they'll like them! Here they are:
Handmade Valentine Swap

Wednesday, February 6, 2013

Multiply Shopping: Crafty Loot

One of my current obsessions are washi tapes. The different designs are so darn pretty that they make it VERY hard to get just a few. Hooray for Multiply's Php250.00 off discount (Multiply should start paying me, seriously), I was able to afford a bunch and some. 

Friday, February 1, 2013

Wasteland Heaven

I'm back. Thanks to this wonderful yet cheap find, it made me decide to blog again.


I love how something so simple is inspiring me to continue to write about stuff I like. I think my blog this year will just be really fun and light - just like these cute planners!

If I'm not mistaken, I believe these diaries are from Korea. I've seen it on several local online stores on Facebook and Multiply. And if you look at their sample photos, users normally decorate them with lots of cute little stickers (which they also sell)! So grade school, right? I love it!!!

The inside is great. It has a yearly planning page which is perfect for birthdays and other important recurring events; a monthly checkpoint with all 12 months in one spread where I could put in my monthly goals; then there's the usual weekly planning pages (but with different designs) which are sandwiched in between the monthly planners. There are also a few pages for notes or projects at the back part of the planner. I think it has everything I need to maintain and organize my blog. And I love that it's not the usual boring planner.


Best part is, it's just Php79.75! So much cheaper than the online stores. Where? Landmark. Love that place.

And in case you're wondering, I have two because the other one will be my personal diary. :) :) :) Goodness, I'm kinikilig. Hahaha! It's just so damn cute!

Now if you'll excuse me, I have a lot of planning to do. ;-) Toodles!

Saturday, November 17, 2012

GIVEAWAY: Transparent Business Card Holder

* THE GIVEAWAY IS CLOSED *
Here are our lucky winners:
1. Domestic Diva (Blogger)
2. Carmel Rivadelo-Villongco (Facebook)
3. @donnadeej (Instagram)
4. @cecilleabella (Instagram)

I will contact you to inform you of the good news and get your info to so I can send out your prize!

Enjoy and thank you so much for joining! :)

**************

Hi, everyone! Here it is! I'm giving away some of these pretty cool business card holders and there are four ways to get one. You may do just one or all four for more chances of winning! :)


Take your pick:
Leave a comment at the bottom of this post about anything - why you want this business card holder, what makeup product/s you're dying to have or how your weekend has been so far. Anything at all! Don't forget to leave your email address so I can contact you if you win!


Like Bunch of Crafts on Facebook, like the post about the giveaway and share it on your timeline.


Follow @bunchofcrafts on Twitter and tweet this message:
"RT:  is giving away this cute transparent business card holder & I want one! 


Follow @bunchofcrafts on Instagram and look for the giveaway photo. Like it and leave a comment. Again, anything goes. Here's the link: http://web.stagram.com/p/326414458368238181_176496479


Easy peasy, right? :)

Here are the rules and guidelines of the giveaway:
  • Deadline of giveaway entries is Tuesday, Nov. 20, 2012, at 11:59 PM.
  • There will be a total of four winners; one winner per social media platform: 1 Blogspot winner (here), 1 Facebook winner, 1 Twitter winner & 1 Instagram winner.
  • You may only send one entry per social media platform. Additional entries will be voided. 
  • A winner may only win once. If his or her name is drawn more than once, another name will be drawn.
  • The giveaway is open to everyone who has a registered mailing address in the Philippines.
  • Winners will be randomly selected.
  • Giveaway prize will be mailed to the winners. Courier shipping fee will be shouldered by the blog owner.

That's it! Good luck and thanks for joining! :)

Credits: Social media buttons downloaded from misse{design}

Friday, November 16, 2012

DIY? Oui!

Quick DIY post. 

I asked my daughter for this canvas pouch (actually, more of stole) which was part of a loot bag she got from her cousin's birthday party. It has been lying around the house so I assumed she didn't really care much for it. And I did. So I "asked" for it. Ha!


I wanted a word design and chose "oui" which is yes in french. I opened my Font Book app and searched for the perfect cursive font. Perfect combo, right? Oui!


I wanted to add shadow detail and wanted to be extra sure where to place the shadows so I utilized Photoshop for reference.

I drew on my design with pencil first and I'm glad I did but it's quite hard to erase it. Is there such thing as fabric eraser? I'm sure there is! Let me take a quick look on Amazon.com... Ha! Of course there is! Amazon is amazing. Adding that to my cart now...


I loved making the pouch so much that I bought canvas and zippers and had more pouches made! Can't wait to make more! And I can now replace the pouch I "asked" from the little one. :)

Materials used:
- blank canvas pouch
- Sharpie Paint in silver
- Sharpie Stained in black
- pencil, eraser, ruler

Thursday, October 25, 2012

Ghoulia Yelps Costume & a DIY Piano Belt

My eldest asked to be Ghoulia Yelps from Monster High for Halloween. We hit the stores to find the pieces of her costume and it was a fun and challenging shopping experience!


Stripe shirt - H&M, my daughter's own
Red pants with stars print - Landmark, had them cut at the hem
Cherry tank top - Landmark, had it cut at the hem and added the red piping from an old cotton shirt
Wig - Divisoria
Headband - Marcela
Glasses - Landmark, removed the lens
Shoes - Payless Shoesource
Mesh gloves - Divisoria
Belt - DIY

The alterations on the pants and cherry tank top were done by Rey, my mom's sewer. We love him! :)

We couldn't find a piano belt so we got a wide plain grey-ish belt and I drew on the piano keys. Belt was also from Landmark.


I'm all "crafted" up! I loved doing small DIY projects for my daughters' costume! Have you seen my youngest's Lalaloopsy costume already? If you haven't, click here. :)

What are your kids wearing this Halloween? :)

Thursday, October 18, 2012

DIY: Lalaloopsy Boots

It's almost Halloween and I'm sure all mommies are busy preparing for this event. It's always fun to play dress up, especially on your kids!

My youngest is obsessed with Crumbs Sugar Cookie. She loves her. The first mini Crumbs she owned was so worn out that its legs broke off. Good thing we were able to get a replacement before it went out of stock. Now, her second Crumbs looks, well, also worn out but at least her limbs are still intact. As early as last year, she already wanted to be favorite doll for Halloween.
Crumbs Sugar Cookie

I sometimes buy my kids' costume from the US and have it shipped here. Last year was a disaster. I ordered her a girl pirate costume because she loved the Jake and the Neverland Pirate show and had it shipped thru a balikbayan box and it didn't arrive on time. I didn't want to spend for another costume so I let her wear her ate's costume when she was about the same age as her. At least I now have photos of them wearing the same costume! :)

my girls (2005 & 2011)
I was contemplating if I should buy the Crumbs costume pictured above from toysrus.com and have it shipped here thru Johnny Air but I would end up shelling out around Php2,000 (USD48.00) or even more. I asked my cousin, who designs and makes clothes, if she could make the costume instead. I actually already have the costume and I am super happy with it. It looks even better than the peg and it's not expensive at all. I can't wait to post photos!!!

So all I needed were the wig (check!) with the black ribbon (on my to-do list tomorrow) and the boots. There was no way I would find the exact pair of boots off-the-rack so I DIYed it.


Did I nail it or did I nail it? Hahaha. Forgive me, but I think I deserve to indulge in my little proud moment... :)

I used my daughter's old rain boots. Good thing they still fit her. Here's a step-by-step guide on how I painted the boots, in case you guys want to know. :)

1. Clean the boots thoroughly. Remove dirt so you have a smooth surface to work on. Prepare your little crafting space - set out your materials and lay sheets of newspaper to protect your floor. Here's a list of what I used:

  • old rain boots
  • newspaper
  • peg
  • Color & Co Acrylic Paint (set of 12), Php185.00, National Bookstore (purchased a year ago)
  • KS Art Supplies fluorescent pink acrylic paint, P62.25, National Bookstore
  • assortment of paint brushes
  • stirrer
  • small plastic containers to put and mix paint in - reused from takeouts
  • water
  • old rag*
  • spay-on sealant*
* not in photo


2. I painted the cap-toe in white. I had to wait for it to dry and did a second coat to completely cover the design of the boots.


3. For the majority of the body of the boots, I mixed fluorescent pink with white paint.


4. The fluorescent pink paint was very watery and had a see-thru effect when I applied it directly to the boots. I, then, applied white over it to act as a primer. I, then, realized that applying white paint first would've been best to cover up the design and also to make the colors pop. The white paint came from the 12-pc. set acrylic paint and I really liked that one because it had a very thick consistency. It took me four coats to completely cover the light pink area of the boots since I mixed the colors and had a lighter consistency and also because I didn't apply primer.


5. I painted the top part of the boots with bright yellow paint and let the boots dry.


6. The next day, I started painting the lines to define the design. I also made marks for the shoelace holes which I just estimated. Then I went ahead and made the marks into small circles.


7. After letting the small dots dry, I started painting on the shoelaces and the ribbons.
8. Lastly, I sprayed on a fixative. I used Grumbacher Final Fixative which is actually for pastel, charcoal and pencil but I used it anyway. It's what I have available and I didn't want to spend for another can. Then I just let it dry overnight.


That's it! Here's how my Lalaloopsy project turned out:

DIY Crumbs Sugar Cookie's Boots

I can't wait for the Halloween party this weekend! :)

Sunday, October 14, 2012

DIY Spike Friendship Bracelet

DIY Inspo - 1 * 2 * 3

Hello, ladies (and gents?)! It's crafting time! :)

I've been seeing a ton of vamped up friendship bracelets and have been obsessing over the spiked ones. It's a really pretty easy bracelet to make except that friendship bracelet takes a loooooooooooong time to finish.

I brought some of my threads and my daughter's The Friendship Bracelet book to a taping and worked on it while waiting on the set. I probably spent two hours making the thing that day.


A day or two after, I continued making the bracelet and it took me forever to finish it. Not to mention the couple of times I had to untie a bunch of knots because I decided to forego the guide. Big mistake.


The third day was the "spiking" day. Yay! :) Notice that I put a lock hardware instead of the usual tying knots. It's so much easier to put the bracelet on and off with it.


Before any studding began, I had to figure out where I should place the spikes and lined them up near their permanent spots.


Then I used a fork to create a hole for the spike's screw.


Viola! I finally have my own spike friendship bracelet! :)


And here's my little arm party! Can't wait to make some more!


Tuesday, September 25, 2012

Arm Party


I had a mild craft attack yesterday which is good because I noticed that when I think of something to make, I get all excited looking for the materials and when I finally have them, I just lose interest. Horrible, right? So I'm glad I was able to make some trinkets from the loads of stuff I have been buying. And I'm wearing most of the new bracelets I made today. The only one that wasn't handmade is the silver cross bracelet. The colorful braided one was made a few months ago. Next on my to do list is a friendship bracelet with cone spikes! Can't wait to see how that will go!

Friday, July 20, 2012

DIY FRIDAY: Lalaloopsy Nail Art

I tried. I really did.

I am obsessing over nail stuff recently. I've been buying loads of nail polish, nail art brushes, nail dotters and whatnot. Not that I'm a good nail artist (if that's even a correct term), I've never tried doing nail art until today.

My daughter found this Lalaloopsy nail art tutorial and we tried it this afternoon when she got home from school. Here's the video tutorial by Totally Cool Nails:


And here's what how my version turned out:

Lalaloopsy Nail Art

Mittens Fluff 'N' Stuff

Peanut Big Top

I didn't realize how difficult it would be to maneuver nail art brushes. And it didn't help that my hands were shaking. But I think I did a pretty decent job considering that this was my first try. I mean, the dolls look pretty much like dolls, right? *Um, yeah, scary looking dolls!* Hahaha. I tried. I really did! Anyway, I can't wait to play with my stash again! I have a bunch of nail art designs that I want to try on my Pinterest. :)

So that's what my daughter is wearing on her nails until Sunday (they're not allowed to wear nail polish to school). And here's what I'm wearing... Something to brighten up the gloomy weather. :)

Pastels Mani

Friday, July 13, 2012

DIY Friday: Depot MAC Eyeshadow

Over the years of working as a professional makeup artist, I have learned how important it is to keep my kit compact. Being the hoarder that I am, the organizing task is quite a challenge. I carry A LOT of stuff with me. 3 bags and they're all heavy. Add another one if I need to lug around my airbrush makeup. Ridiculous, I know.

I refuse to bring just what I need and leave the rest at home. When I do, I always leave something behind - like the case where I keep all my pencils, or eyelash curler, or mascara, etc. And I always look for something I do not have with me. Always. So I'd rather bring everything with me than stress myself out while working.

Since I'm a stubborn packer (that sounds funny, hihihi!), I like making use of every little space I have in my kit. My ultimate goal is to fit everything in just one case or bag, which is quite impossible for me, honestly. But keeping things compact helps a great deal. One thing I love to do is to depot my eyeshadows and house as much in a palette. It doesn't just save me space but it saves me time of going through all the eyeshadows, looking for a specific color and opening the damn packaging. I used to keep the eyeshadows in their original boxes and neatly line them up in my kit. It was a really beautiful thing to see but it's too high maintenance.

There are a lot of depotting tutorials out there but here's how I depot an eyeshadow: (And I am proud  how perfect the eyeshadow looks after I depot it! :))

Here are the things you'll need:

The materials
  • Alcohol
  • Something sharp to stick through an opening, I used a cuticle pusher
  • Flat iron
  • Tissue
  • Hand towel
  • Tweezers (not in photo)
  • MAC eyeshadow

First, turn on your flat iron and place a piece of tissue, folded in half, on the heating plate. I use medium to full heat.
Prepare the flat iron

Next, take the eyeshadow. Grab your sharp tool and stick it to the space between where the lid locks to close the container and the base. Remove the top part that houses the eyeshadow pan from the base.
Take apart the container

Place the small container with the eyeshadow on your heated flat iron, with the plastic facing down. Let it sit for a couple of minutes - about 3 to 5 minutes. This is to melt the strong adhesive so it will be easier to remove the pan from the base. Do not force the eyeshadow pan off the base, that will crack the powder and ruin it.
Melt the adhesive

Take the eyeshadow off the flat iron with a pair of tweezers. Carefully clamp on the sides of the plastic base and make sure the tweezers do not touch the eyeshadow so as not to ruin it. Do not touch it with your bare fingers as it will be very hot. Flip the container and check if the middle part has melted.  If it has, the eyeshadow pan will be ready to remove from the housing. Put the eyeshadow facing down on the towel, take your sharp metal tool and stick it to the middle to hold it down then take your tweezers and pull up the plastic base.
Remove the eyeshadow pan from the container

With the eyeshadow facing down, let the pan cool down for a minute of two. Grab your alcohol and tissue. Spray and wipe and repeat until you've removed all the sticky residue off the pan. Check the sides of the pan as well. Since MAC eyeshadow pans are not magnetic I added a metal sticker on the bottom of the pan since I will place this in a magnetic palette together with my other eyeshadows.
Clean the pan

If you're as OC as I am, I like placing the original label of the eyeshadow on the depotted pan. To do that, take the main container and place it on the flat iron with the sticker facing down for a minute. Take your sharp tool and carefully remove the sticker from the container by scraping the label off on the sides. Take the sticker and place it on the bottom of the pan (in this case, on top of the metal sticker). It should have enough adhesive to stick to the bottom of the pan.
Add the label

Now your newly depotted eyeshadow is ready to move in its new home. Yipee! :)
Ta-dah! MAC Paradisco, depotted!
The newbie with her sisters
My Z PRO Black Palette. Look, I have space for one more! :)

Now don't throw away the main container just yet. Keep it, collect some more then bring them to Singapore or Hong Kong (hahaha, such a hassle!) and Back-To-MAC them and get a free lippie! I know, it sucks that MAC Philippines has discontinued the Back-To-MAC program when most countries participate in this environmental program. This is why I rarely buy locally as my way of protesting. Anyway, you can ask your friends to do this for you if you have no plans of leaving the country soon. That's what me and my friends do!
Ready for Back-To-MAC

Don't have a palette, yet? Check out our store, We Heart Makeup. We carry Z Palettes, UNII Palettes, Sigma brushes and a lot more! Visit our Multiply site and Facebook page! :)

Z Pro Black Palette - Php1,350.00
Metal Stickers - Php250.00 / pack of 30 pcs or Php10.00 each